inRiver - Extension Installation Guide
This article covers the topic of how to install the Screen9 extension for inRiver, access to the inRiver Control Center is required.
inRiver.Remoting.iPMC version 7.3.19133.3 or newer required.
Before installing the extension, please contact Screen9 support for the latest extension package.
Setting up the Model
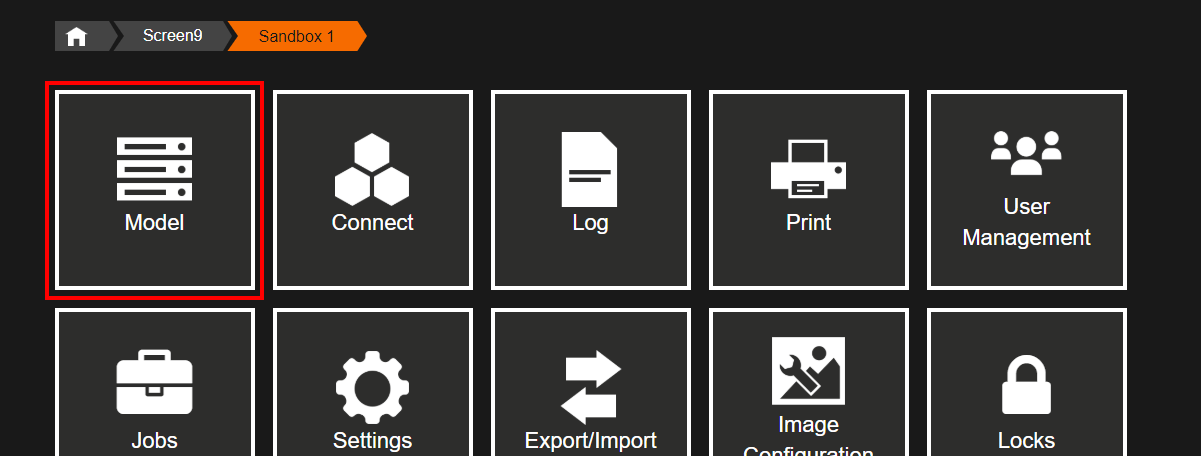
From the inRiver Control Center, navigate to the Model page by choosing Model as displayed in the image above.
Configuring CVL
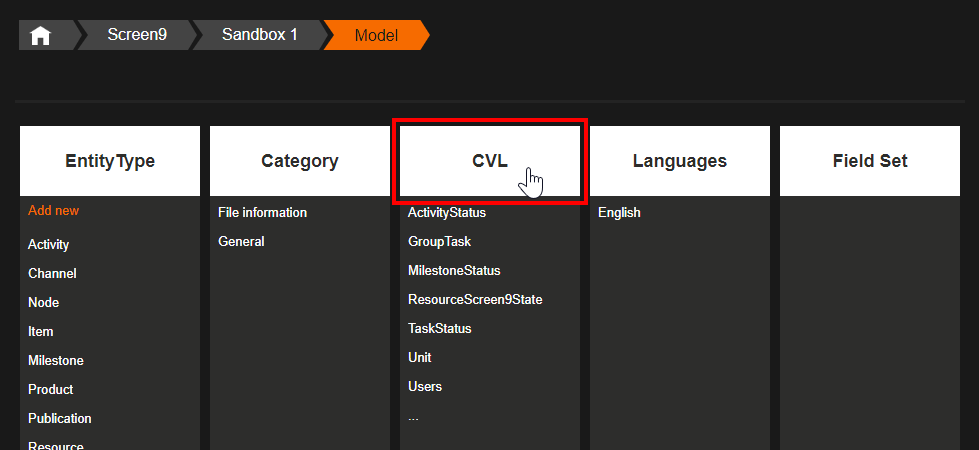
Navigate to the CVL page by clicking on CVL.
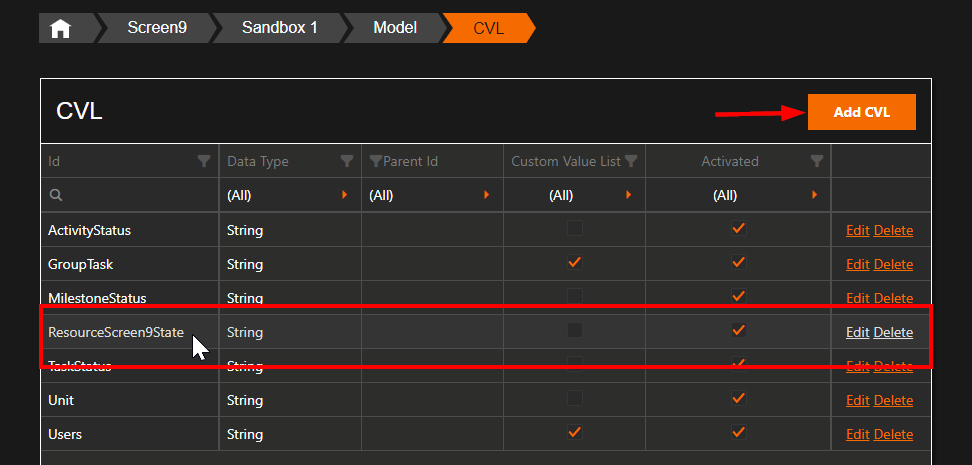
Press "Add CVL", enter ResourceScreen9State as the Id and select String as Data Type. After adding the CVL, click the newly added CVL in the list to continue to the next step.
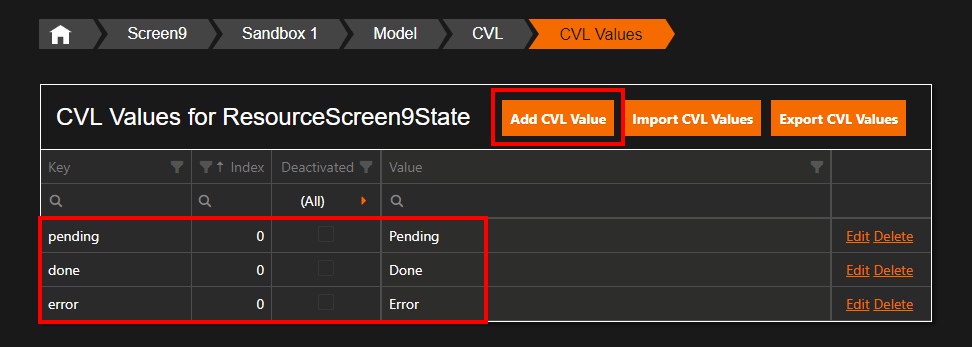
| Key | Value |
| error | Error |
| done | Done |
| pending | Pending |
Press "Add CVL Value" and add the key-value pairs from the table above as shown in the image above.
Configuring Resource
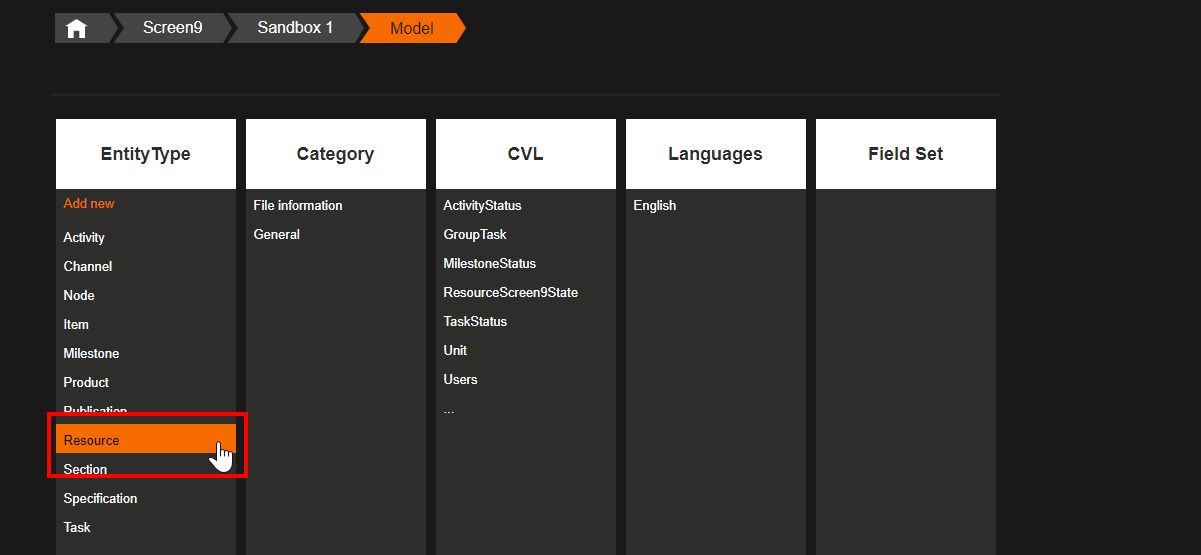
Go back to the Model page and choose Resource under EntityType to navigate to the Resource page.
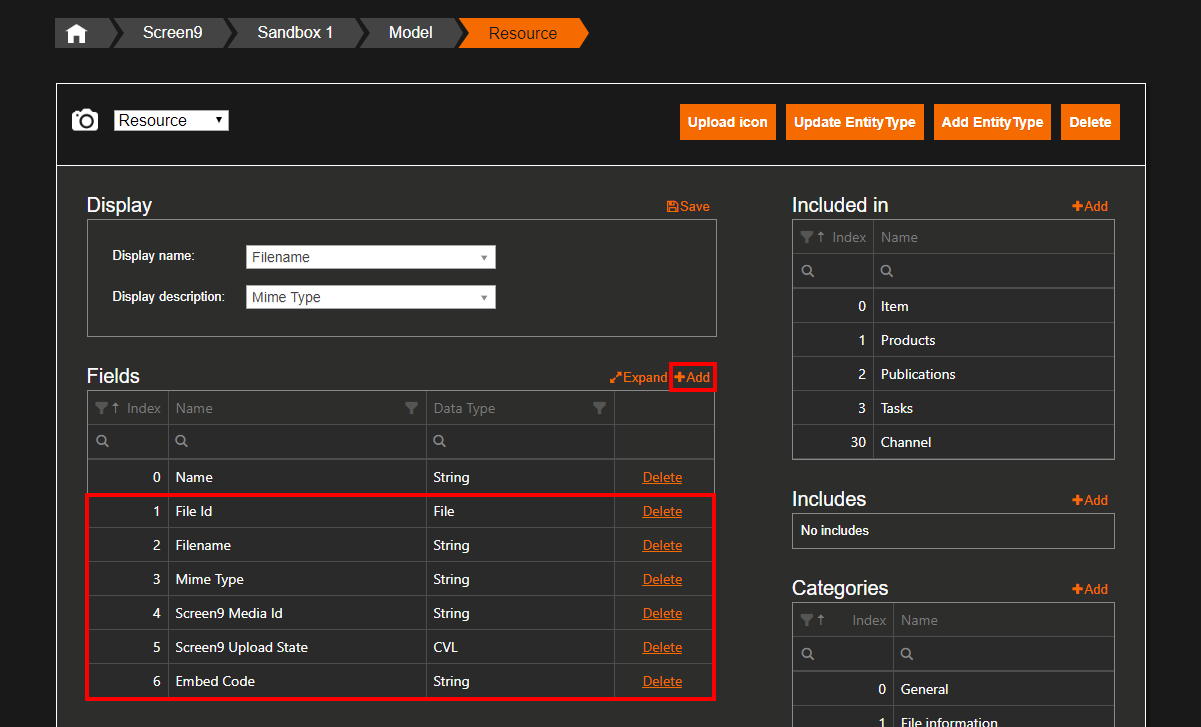
On the Resource page, press Add and and continue to the next step.
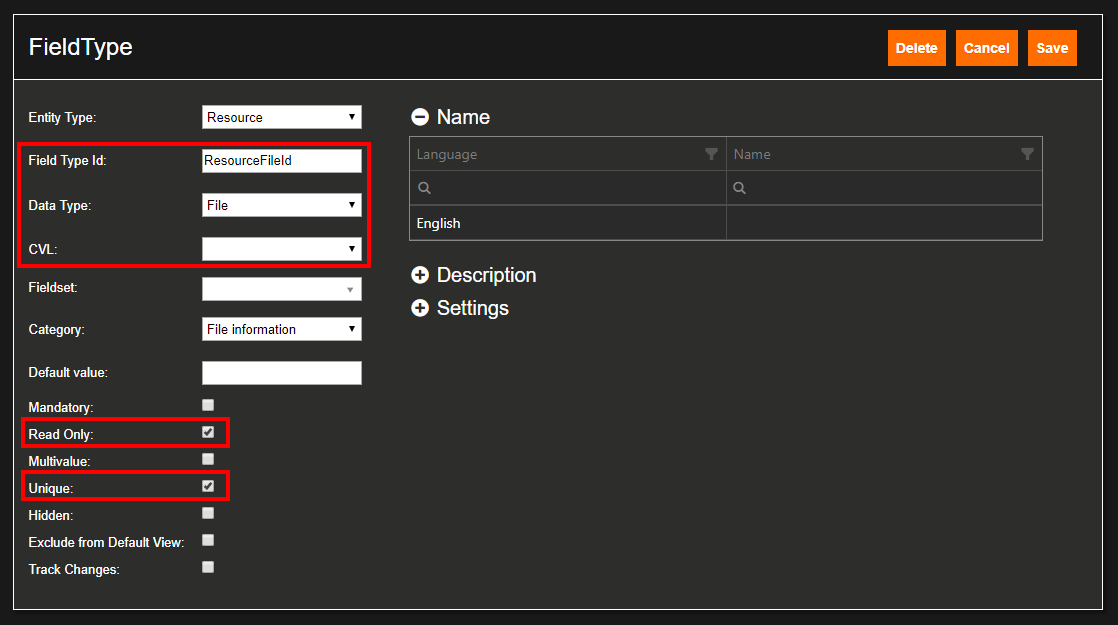
Enter the data from the table below as in the image above and repeat the process for all six rows in the table.
| Field Type Id | Data Type | CVL | Read Only | Unique |
| ResourceFileId | file | |||
| ResourceFilename | string | |||
| ResourceMimeType | string | |||
| ResourceScreen9MediaId | string | X | X | |
| ResourceScreen9UploadState | CVL | ResourceScreen9State | ||
| ResourceScreen9EmbedCode | string | X |
Adding the Package and Extension
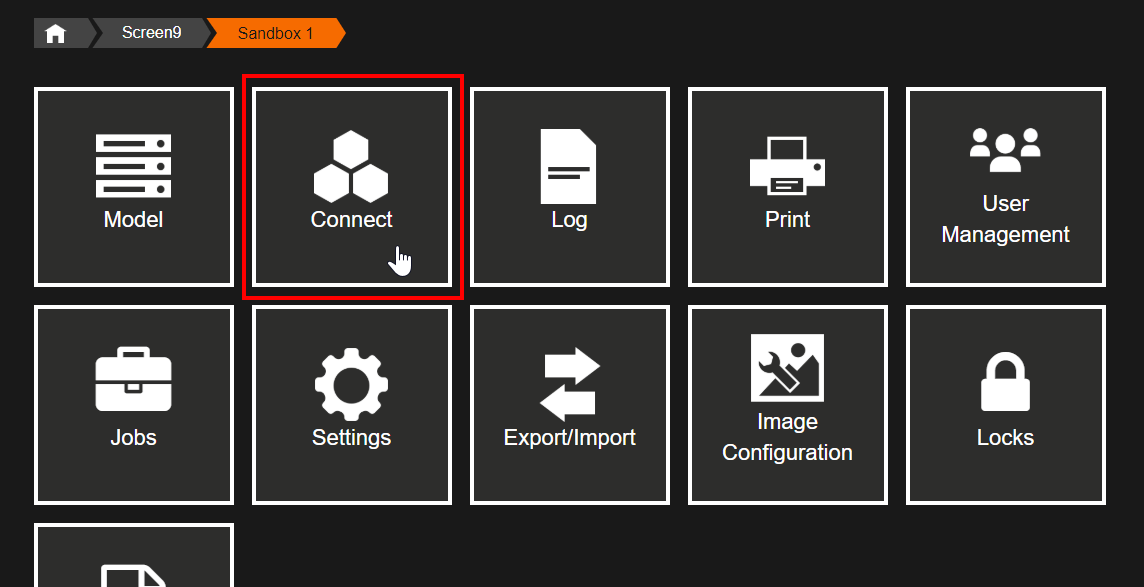
Navigate to the Connect page by choosing Connect as displayed in the image above.
Uploading the Package
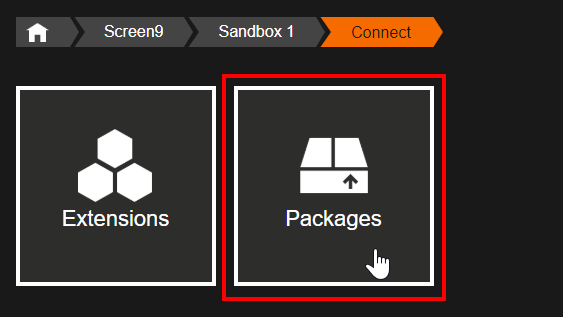
Choose Packages.
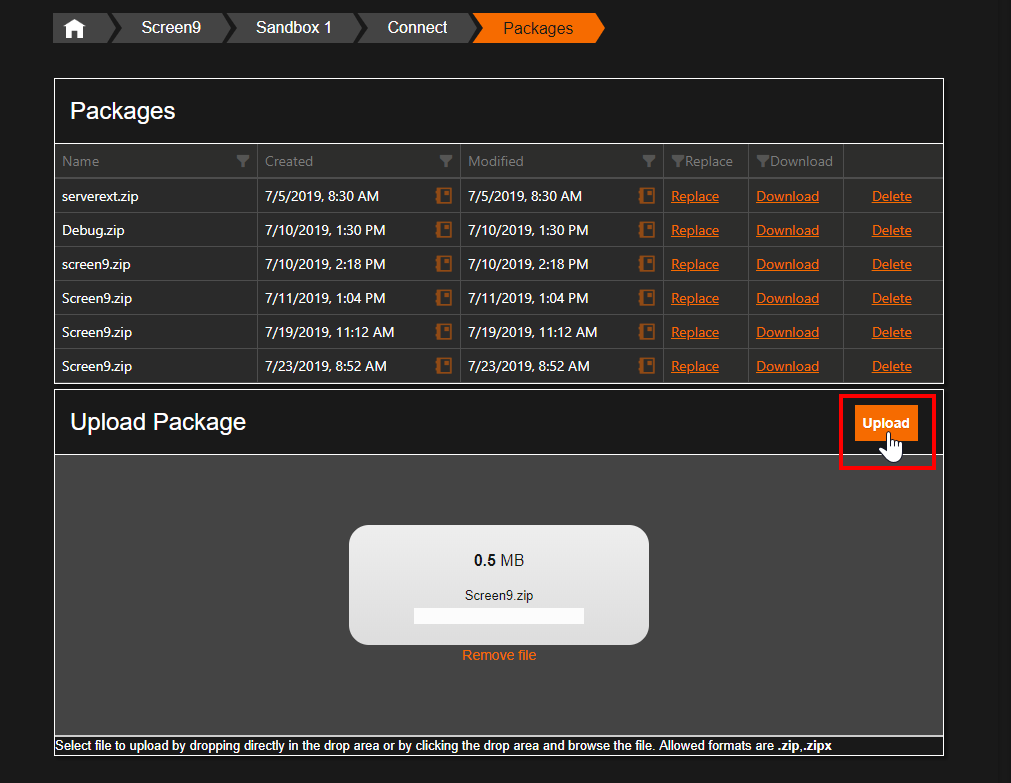
Select the extension package provided by Screen9 Support.
Adding the Extension
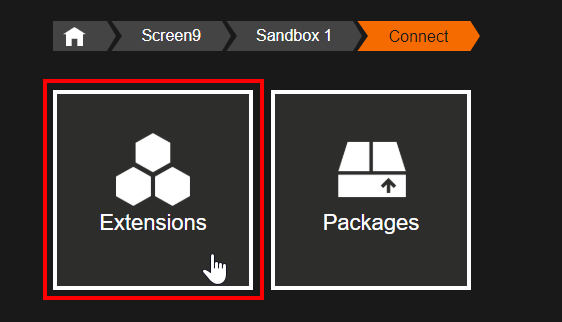
Go back to the Connect page and choose Extensions.
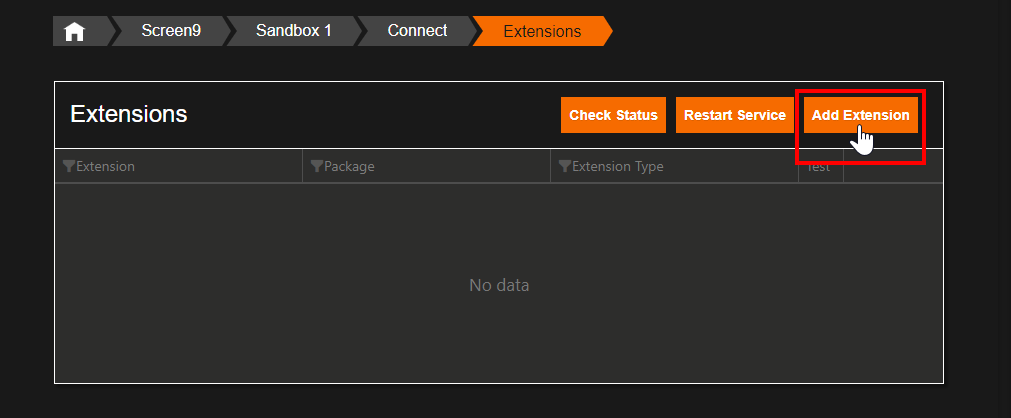
Press "Add Extension" and continue to the next step.
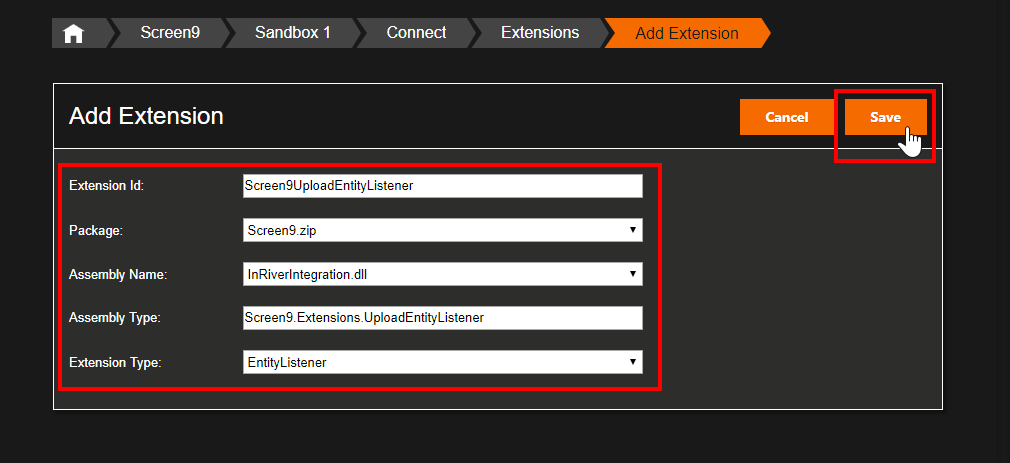
Enter the extension data from the table below as displayed in the image above.
| Extension Id | Screen9UploadEntityListener |
| Package | Screen9.zip |
| Assembly Name | InRiverIntegration.dll |
| Assembly Type | Screen9.Extensions.UploadEntityListener |
| Extension Type | EntityListener |
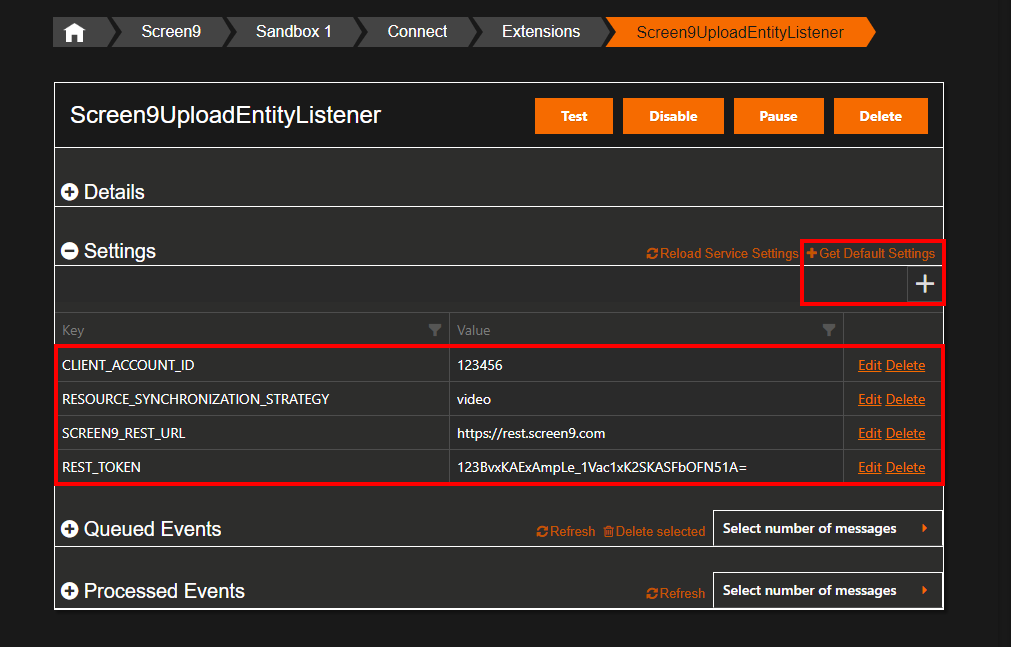
Press "Get Default Settings" to automatically create the required key-value pairs. Edit the data referenced in the table below and delete optional keys.
Note you find YOUR-ACCOUNT-ID and YOUR-TOKEN in the Screen9 Console. More details on how to get your account id and create a token can be found in the REST API article. The token should have Full access level with Read, Write and Upload privileges. The SCREEN9-REST-URL should be 'https://rest.screen9.com' or not set at all.
| Key | Value | Optional | Description |
| CLIENT_ACCOUNT_ID | YOUR-ACCOUNT-ID | No | Screen9 account Id |
| RESOURCE_SYNCHRONIZATION_STRATEGY | YOUR-SYNCHRONIZATION_STRATEGY | Yes | Determines what kind of resources are uploaded to Screen9. By default set to 'video', other possible values are 'image' and 'all'. |
| SCREEN9_REST_URL | SCREEN9-REST-URL | Yes | Screen9 REST URL. By default set to 'https://rest.screen9.com'. |
| REST_TOKEN | YOUR-TOKEN | No | Screen9 REST API Token |
Installation Complete
The Screen9 integration for inRiver is now installed, more information on how to use the integration can be found in the inRiver Integration article.
