
SharePoint - Use the Quickchannel Add-in
This article covers the topic of how to use the Quickchannel Add-in for SharePoint.
The Add-in is available for SharePoint in Microsoft AppSource.
Note that for SharePoint Online Modern UI and On-premise 2016 + FP2 we recommend using the Quickchannel SharePoint Web Part based on SPFX.
Add a web part
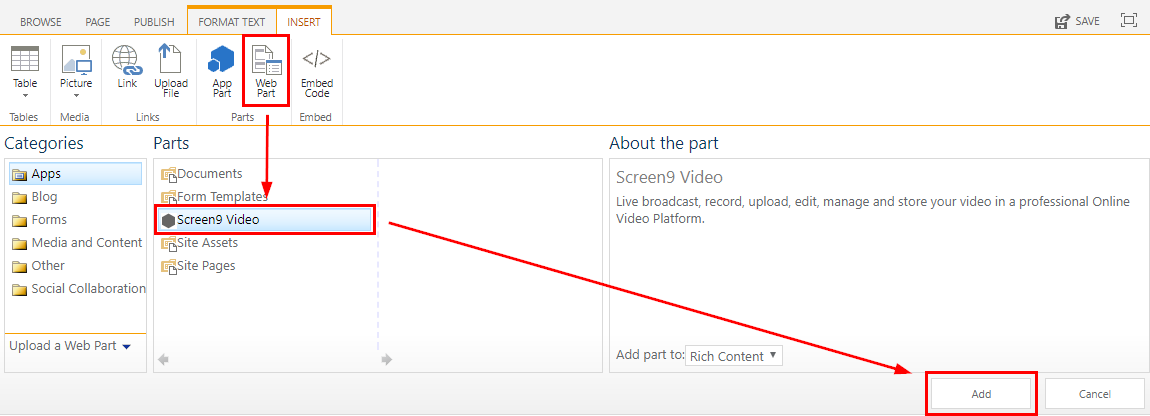
Go to the page you want to add a video to, choose to insert a Web Part, select "Screen9 Video" and press "Add".
Edit the Web Part
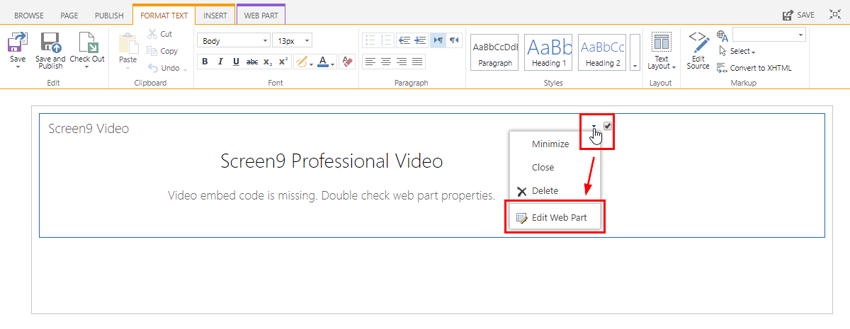
Open the drop down menu in the top right corner of the Web Part and select "Edit Web Part".
Add a video
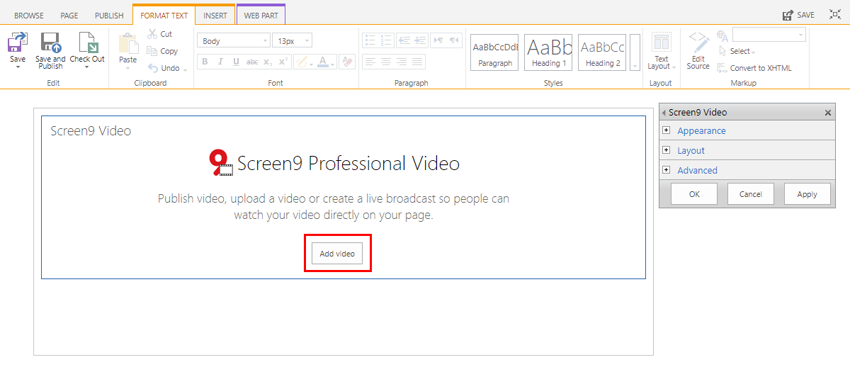
Press "Add video" in the web part to bring up the Console where you can upload, manage and select a video or live event from the Console to insert on the page.
Insert a video
Press "Insert" next to a video or Live Event to insert that video or Live Event on the page.
Confirm
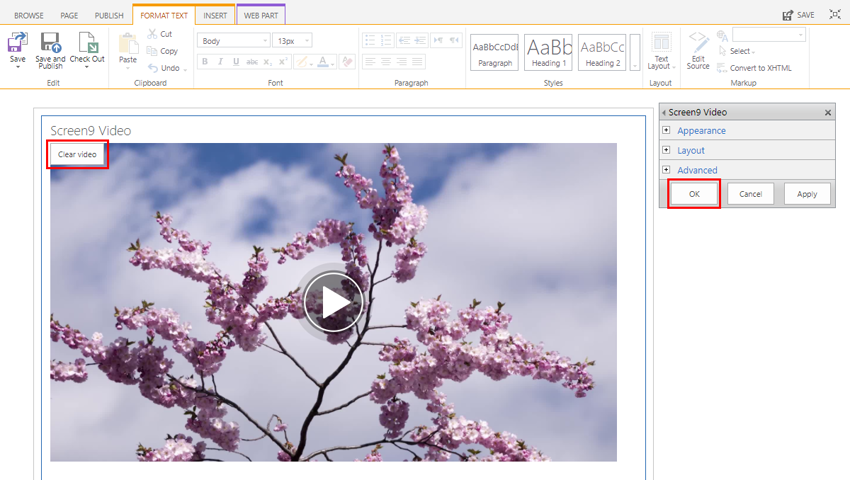
The video will then replace the Console on the page.
After inserting a video you can either press "Clear video" in the top left corner of the Web Part if you want to select a different video or if you are satisfied with your selection and done editing simply press "OK" on the right side in order to confirm and apply changes.