
SiteVision - Publishing videos
This article covers the topic of how to publish video using the Quickchannel (Screen9) integration for SiteVision.
You need to be logged in to your SiteVision site with editing privileges, enter edit mode on the page you want to embed your video on and follow the steps below.
The Module
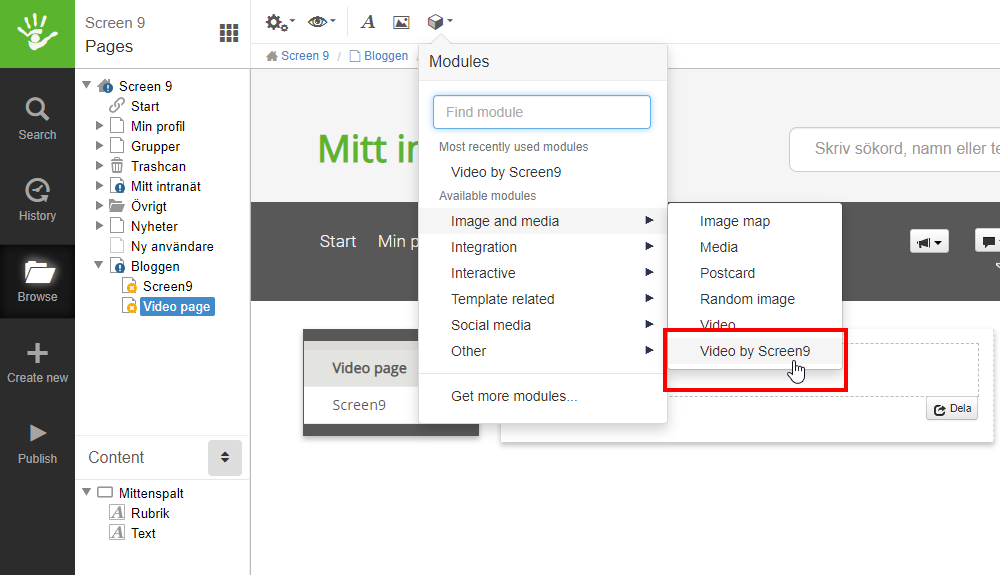
While editing a page in SiteVision, a module called Video by Screen9 will be available as a choice in the Modules menu under Image and media. Select the Screen9 module while on the page you want to publish video on.
The Console
After choosing Video by Screen9 in modules, you will be presented with the Quickchannel Console. You can either record a video in Console, set up a live broadcast, upload a new video or choose an existing one. After uploading, recording or finding an existing video you want to use, press the "Insert" button next to the video on the media page.
Preview
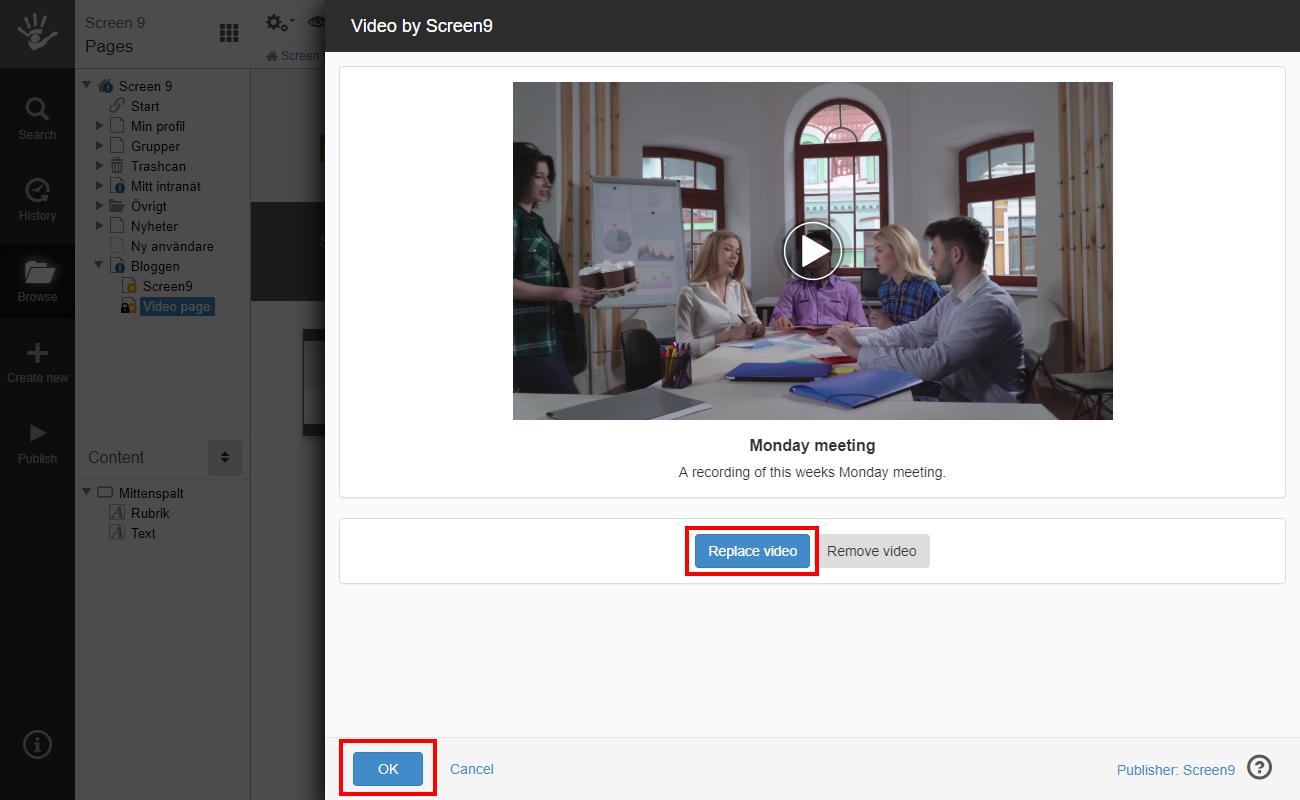
After pressing the "Insert" button of the video you want to use, you will be presented with a preview of the video displaying its title and description. You can choose "Replace video" to go back and choose a different video if you have changed your mind. Press "OK" when you're done to publish the video on your page.
Move the Video
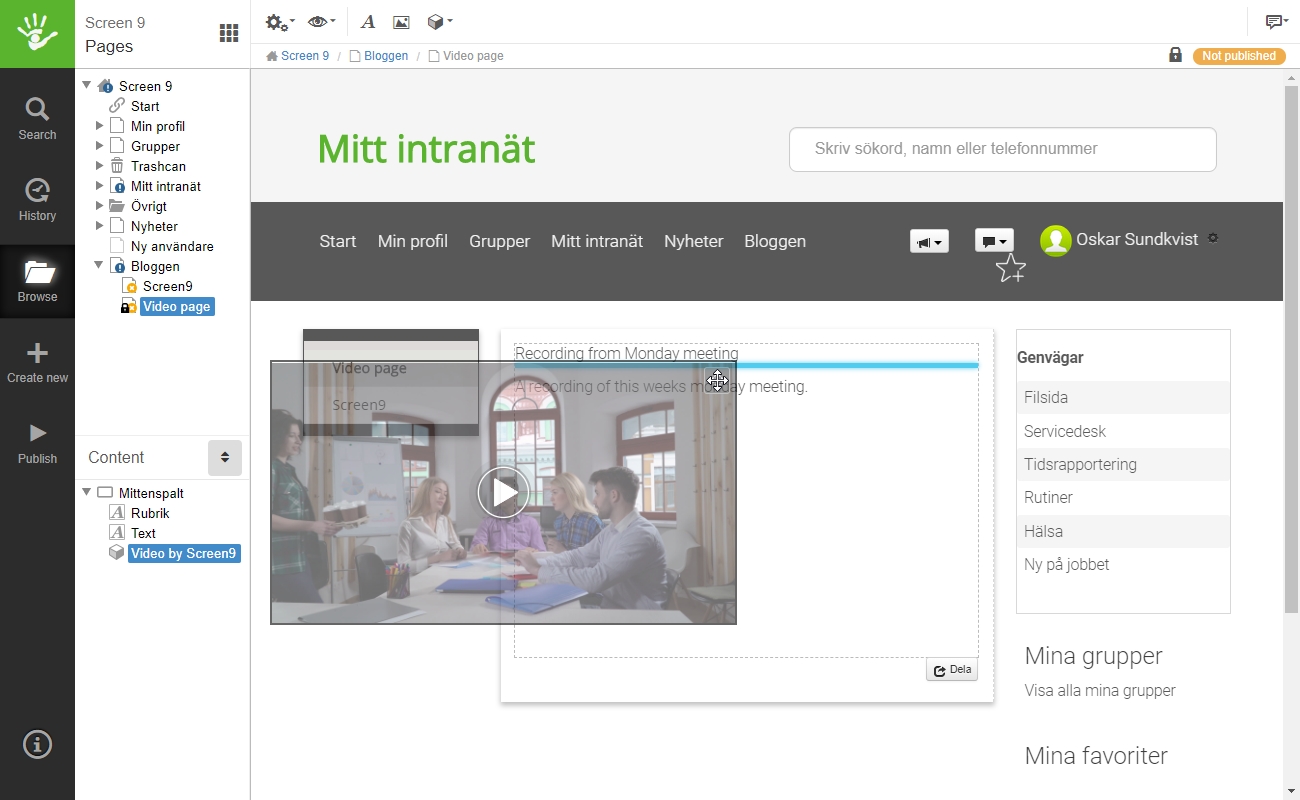
After the video has been published on your page, you can drag and drop it with your cursor on the move icon in the top right corner of the video module. You can also rearrange the order of your modules on the left side in your Content menu.
Result
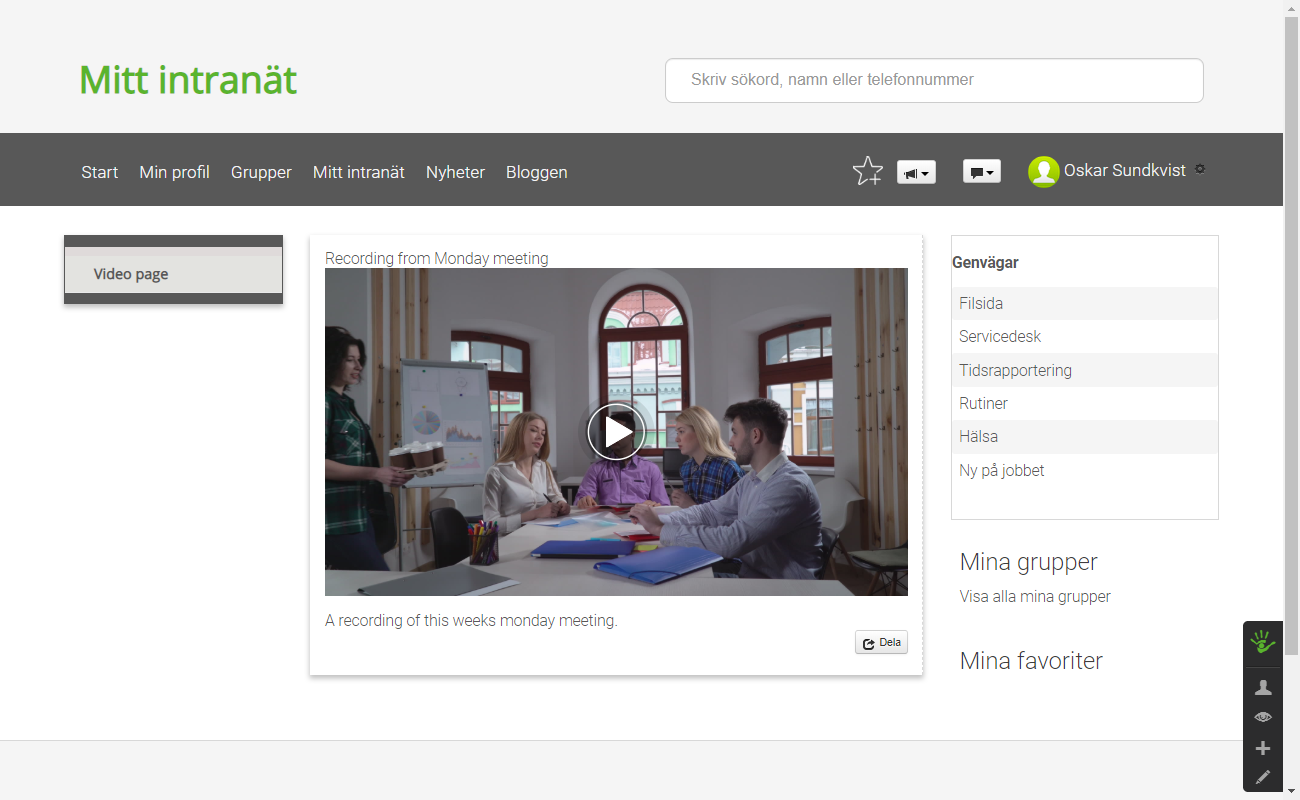
Above you see the page with the Video by Screen9 module created in this guide.
Limitations
While live events can be embedded, the integrated chat feature is not supported by this plugin.